Laptop Plugged In but Not Charging in Windows 11? 10 Fixes

You connect the charger, Windows recognizes that the laptop is plugged in, but the battery percentage simply refuses to move. Sometimes it stays stuck at 0%, 60%, or 80%. In other cases, the charging icon appears normally while the battery continues to lose power.
If your laptop is plugged in but not charging in Windows 11, don’t assume immediately that the battery is dead. The problem can be surprisingly simple: a loose connection, incompatible charger, USB-C power issue, manufacturer charging limit, battery driver problem, excessive heat, or a battery that has genuinely reached the end of its useful life.
The best way to troubleshoot this is to start with the simple hardware checks before changing Windows settings or reinstalling drivers. Here are 10 practical fixes to help you find the actual cause.
1. Check the Laptop Charger, Cable and Charging Port
Before changing anything in Windows 11, check the physical charging setup.
Disconnect the charger from both the laptop and wall outlet, wait a few seconds, and reconnect everything firmly. If you’re using an extension board, dock, adapter, or surge protector, temporarily connect the charger directly to a known-working wall outlet.
Now inspect the charging cable and connector. Look for obvious damage such as bent connectors, exposed wiring, unusual discoloration, or a connector that feels excessively loose inside the charging port.
If your laptop has a charging indicator light, watch what happens when you connect the charger. No charging light at all may point toward the charger, cable, port, or power source rather than Windows.
You should also inspect the laptop’s charging port for visible dust or debris, but avoid inserting metal objects or anything that could damage the contacts.
If another compatible manufacturer-approved charger is available, testing it can be one of the quickest ways to determine whether the original charger is responsible.
2. Make Sure Your USB-C Charger Provides Enough Power
USB-C has made laptop charging more convenient, but it has also created a new source of confusion: not every USB-C charger or port can properly charge every laptop.
A small phone charger may physically fit your laptop and even cause Windows to recognize that external power is connected, yet still provide insufficient power for normal charging.
For example, imagine your laptop is designed to use a 65W USB-C power adapter but you’re trying to charge it using a much lower-powered phone charger. The laptop may charge extremely slowly, refuse to increase its battery percentage during use, or continue losing battery because the computer is consuming power faster than the charger can supply it.
The same applies to cables. USB-C cables can have different power capabilities, so use a cable suitable for your laptop’s charging requirements.
Also make sure you’re connecting the charger to a USB-C port that supports charging. On laptops with multiple USB-C ports, they may not all provide identical capabilities.
For the safest match, compare the charger’s specifications with the power adapter requirements listed by your laptop manufacturer.
3. Restart Windows 11 and Perform a Basic Power Reset
A restart sounds almost too simple, but it’s worth doing before moving into more complicated troubleshooting.
Save your work and choose:
Start → Power → Restart
Don’t just close the laptop lid and reopen it. Perform an actual restart.
If the battery still isn’t charging, shut the laptop down completely. Disconnect the charger and any unnecessary USB accessories.
If your manufacturer provides a documented power-reset procedure for your specific laptop model, follow that procedure. Some devices may have different requirements, particularly laptops with internal batteries.
After the reset, reconnect the charger and start the laptop again.
If charging immediately returns to normal, the problem may have been a temporary power-management or hardware-controller issue rather than a failed battery.
4. Check Whether an 80% Battery Charge Limit Is Enabled
This one catches a lot of people.
Your laptop reaches 80%, stops charging, and suddenly you’re searching:
“Why is my laptop plugged in but not charging?”
But nothing may actually be broken.
Many modern laptops include battery-protection features designed to reduce the amount of time the battery spends at maximum charge. Depending on your manufacturer, the feature may be called Battery Care, Conservation Mode, Smart Charging, Battery Health Manager, Custom Charge, or something similar.
These features can intentionally stop or limit charging around a particular level.
For example, if your battery repeatedly stops at around 80% but otherwise works normally, check your manufacturer’s battery-management software or BIOS/UEFI settings before assuming the charger has failed.
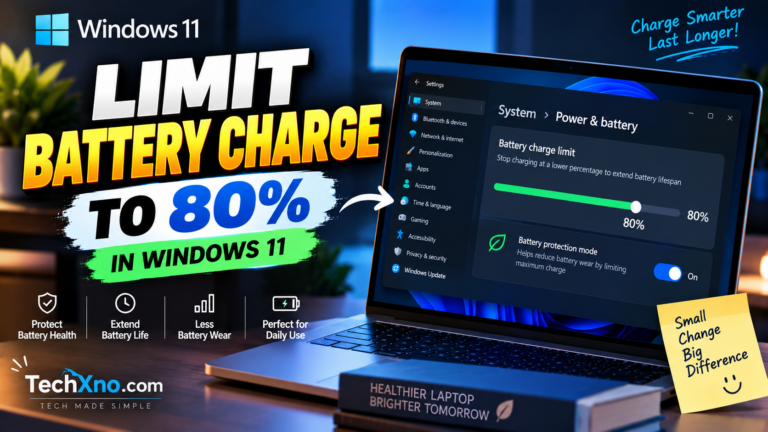
We’ve covered this in detail in our guide on How to Limit Battery Charge to 80% in Windows 11, including the different approaches used by HP, Dell, Lenovo, ASUS and other manufacturers.
If a charging limit is enabled intentionally, seeing “plugged in” without the battery continuing toward 100% can be completely normal.
5. Let the Laptop Cool Down Before Charging Again
Battery temperature matters.
If your laptop becomes very hot during gaming, rendering, heavy multitasking, or another demanding workload, its battery-management system may change charging behavior to protect the hardware.
Move the laptop to a hard, well-ventilated surface and allow it to cool down. Make sure the air vents aren’t blocked by a blanket, pillow, clothing, or other soft material.
Once temperatures return to normal, connect the charger again and check whether charging resumes.
If the laptop frequently becomes extremely hot during ordinary tasks, that’s worth investigating separately. Dust buildup, blocked ventilation, fan problems, demanding background applications, or other hardware issues could be contributing.
Heat doesn’t just affect charging behavior — prolonged exposure to high temperatures can also contribute to battery degradation over time.
6. Reinstall the Battery Drivers in Windows 11
If the charger and battery appear physically normal but Windows still reports incorrect charging behavior, you can try reinstalling the battery-related drivers through Device Manager.
Right-click the Start button and select:
Device Manager
Expand:
Batteries
Depending on your system, you may see entries such as:
Microsoft AC Adapter
and
Microsoft ACPI-Compliant Control Method Battery
Right-click the relevant battery entry and choose Uninstall device.
After uninstalling it, restart the laptop. Windows should detect the hardware again and reinstall the required driver automatically.
Don’t start downloading random “battery drivers” from third-party driver websites. Battery and power-management behavior can also depend on manufacturer-specific firmware and software, so Windows Update and your laptop manufacturer’s official support page are much safer sources.
If you’re uncomfortable removing a device entry, skip this step and continue with the remaining checks.
7. Check Windows Update, BIOS and Manufacturer Power Software
If your Windows 11 battery is still not charging, check whether the laptop has relevant updates available.
Open:
Settings → Windows Update
Install appropriate pending Windows updates and restart the computer.
Next, visit your laptop manufacturer’s official support page and search using the exact model number.
Depending on the system, relevant updates may include BIOS/UEFI, chipset, power-management components, firmware, or manufacturer utilities.
BIOS updates deserve extra care. Follow the manufacturer’s instructions exactly, keep the laptop connected to reliable power when required, and don’t interrupt the update process.
Also check your manufacturer’s power-management application. Dell, Lenovo, ASUS, HP, Acer and other manufacturers may provide their own battery settings that influence charging behavior.
A Windows setting isn’t always responsible simply because the problem appears inside Windows.
8. Check Laptop Battery Health With the Windows Battery Report
At this point, we’ve checked several things outside the battery itself.
Now it’s worth asking a different question:
How healthy is the battery?
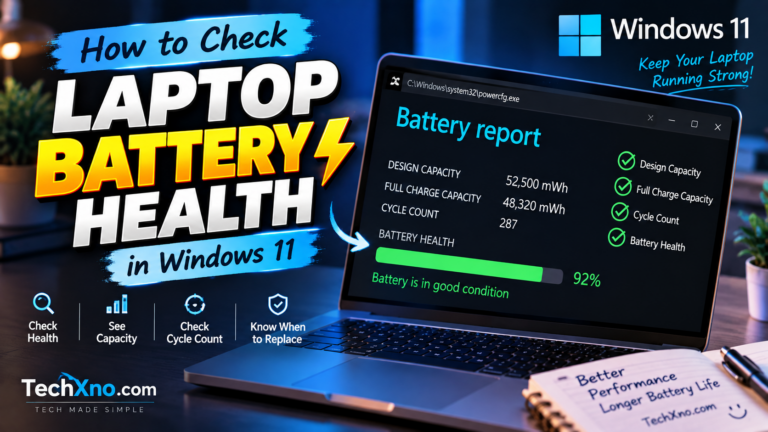
Windows 11 can generate a Battery Report without installing third-party software.
Open Command Prompt or Windows Terminal and enter:
powercfg /batteryreport
Press Enter.
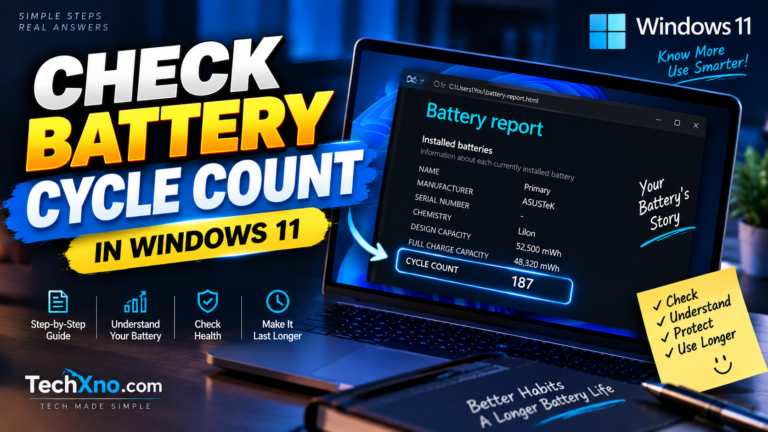
Windows will generate a report and display where the HTML file has been saved. Open it and look under Installed batteries.
Pay particular attention to:
Design Capacity
and
Full Charge Capacity
Design Capacity represents approximately how much energy the battery was designed to hold when new. Full Charge Capacity represents approximately how much it can currently hold.
If Full Charge Capacity has fallen significantly below Design Capacity and you’re also experiencing poor runtime or charging problems, battery wear becomes a stronger possibility.
For a complete walkthrough, read How to Check Laptop Battery Health in Windows 11 and our Windows 11 Battery Report Explained guide.
Don’t replace the battery based on one number alone, though. Charging problems can still come from the charger, charging circuit, port, firmware, temperature, or another hardware component.
9. What to Do If the Battery Is Stuck at 0% While Plugged In
A laptop that remains at 0% while plugged in deserves a little more attention than one intentionally stopping at 80%.
First, leave the laptop connected to the correct charger for a reasonable period while it’s powered off. A deeply discharged battery may not immediately behave like a normally charged one.
If it remains at 0%, verify the charger again and check whether the laptop can remain powered on when connected to AC power.
A computer that works from the charger but immediately shuts down when power is disconnected may indicate that the battery isn’t supplying usable power.
You can also generate a Battery Report if Windows remains operational and check whether the battery is detected and what capacity information is being reported.
If the battery isn’t detected properly, refuses to accept any charge, or the laptop only works while permanently connected to the charger, hardware service may be necessary.
Don’t repeatedly experiment with a battery showing signs of physical damage.
10. When Should You Replace the Laptop Battery or Charger?
If none of the previous fixes work, it’s time to consider whether the problem is hardware-related.
A charger becomes more suspicious if the laptop doesn’t reliably detect it, charging changes when the cable is moved, the adapter is visibly damaged, or another verified compatible charger works correctly.
The battery becomes more suspicious when it has substantially reduced capacity, extremely short runtime, sudden percentage drops, unexpected shutdowns, or refuses to hold a usable charge even with a known-good charger.
There’s also the possibility of a damaged charging port or internal charging circuitry, particularly if multiple compatible chargers fail.
Physical battery swelling is different from ordinary battery wear. If the laptop casing or trackpad begins bulging, the battery looks swollen, or you notice unusual odor, smoke, leakage, or excessive localized heat, stop using and charging the device and arrange professional service. Don’t puncture, compress, or attempt to repair a swollen lithium-ion battery yourself.
For an older laptop with a replaceable battery, replacement may be straightforward. For modern laptops with internal batteries, professional replacement may be the safer option unless the manufacturer specifically provides a user-serviceable procedure.
Final Thoughts
If your laptop is plugged in but not charging in Windows 11, start with the physical side of the problem before digging deep into Windows.
Check the wall outlet, charger, cable, charging port, USB-C wattage, and laptop temperature first. Then check whether your manufacturer has intentionally limited charging to around 80%.
If everything there looks normal, move on to Windows battery drivers, updates, manufacturer software, and the Windows Battery Report.
That order matters because there’s little point reinstalling drivers for half an hour only to discover that your 65W laptop has been connected to a 20W phone charger.
And if the battery itself looks healthy but your laptop simply loses charge far too quickly, that’s a different problem. Our Laptop Battery Draining Fast on Windows 11? 8 Easy Fixes guide should be your next stop.
Frequently Asked Questions
Why is my laptop plugged in but not charging in Windows 11?
Possible causes include a loose or faulty charger, insufficient USB-C power, an enabled battery charge limit, excessive temperature, battery-driver issues, firmware problems, battery degradation, or a hardware fault with the charging port or circuitry.
Why does my laptop stop charging at 80%?
A battery-protection feature may be enabled. Many laptop manufacturers provide charging limits or smart charging modes designed to reduce the amount of time the battery remains fully charged. Check your manufacturer’s battery settings before assuming there’s a fault.
Why is my laptop battery stuck at 0% while plugged in?
A battery stuck at 0% could be deeply discharged, severely degraded, not communicating properly with the system, or experiencing a charging hardware problem. Verify the charger first and check whether Windows detects the battery correctly.
Why does my laptop say plugged in but lose battery percentage?
The laptop may be consuming more power than the charger is supplying, particularly with an underpowered USB-C charger or during demanding workloads. Charger problems, high system power consumption, battery issues, and thermal conditions can also contribute.
Can a laptop charger work but still not charge the battery?
Yes. A charger may provide enough power for certain system functions but still be incompatible, underpowered, damaged, or unable to charge the battery correctly. USB-C charging makes checking the required wattage and cable capability especially important.
Should I uninstall Microsoft ACPI-Compliant Control Method Battery?
Reinstalling the battery device through Device Manager can be a troubleshooting step when Windows is reporting charging information incorrectly. However, it won’t repair a physically damaged charger or battery, and you should restart Windows afterward so the device can be detected again.